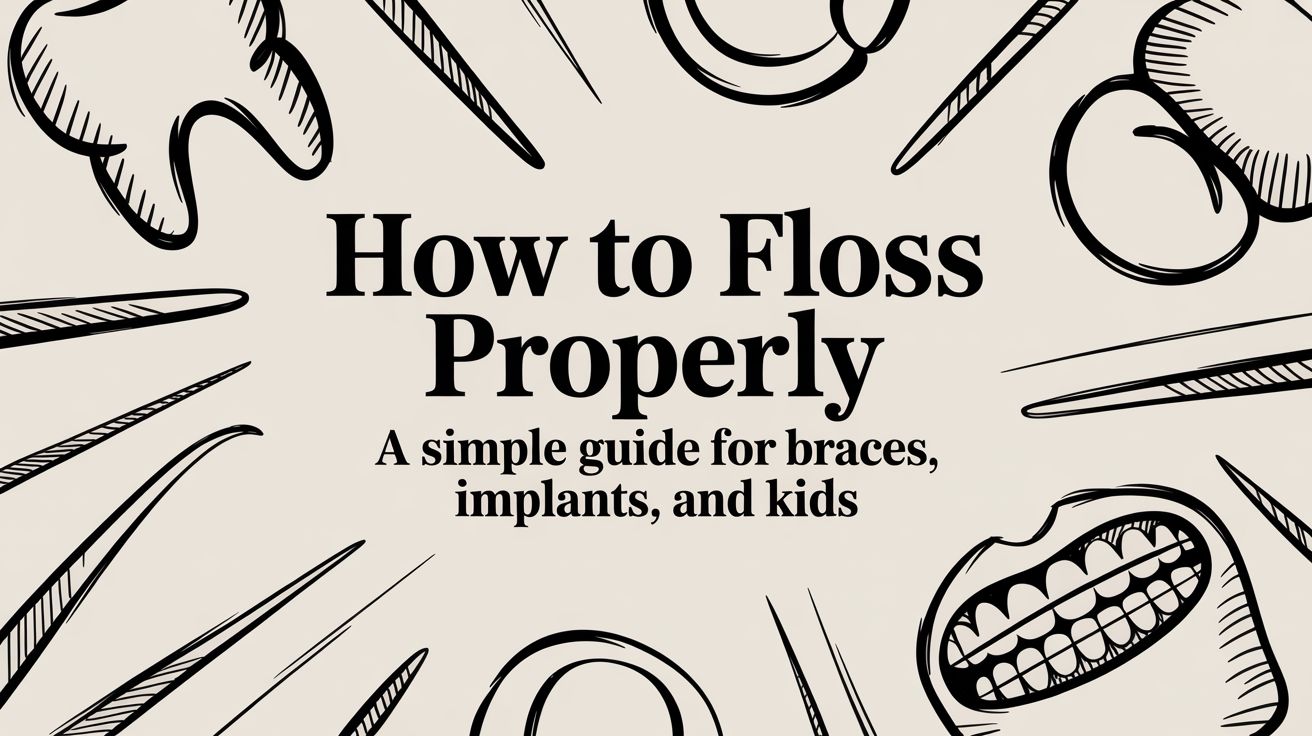
If you've ever wondered whether you're really flossing the right way, you're not alone. So many of us go through the motions without realising there's a specific technique that makes all the difference. Mastering it is about a few key things: using enough floss (about 45cm), holding it correctly for total control, and wrapping it in a C-shape around each tooth.
This simple method is the secret to cleaning beneath the gumline—that tricky spot your toothbrush just can't reach.
Your Foundation for Flawless Flossing
Think about this for a second: your toothbrush, no matter how well you use it, only reaches about 60% of your tooth surfaces. That leaves a staggering 40% hiding between your teeth, which is prime real estate for plaque to build up. This is where proper flossing shifts from being an afterthought to a non-negotiable part of your daily routine.
We’re not just talking about dislodging that stubborn piece of popcorn. The real goal is to disrupt the sticky, invisible film of bacteria that causes cavities and gum disease. It’s about moving beyond a quick sawing motion and adopting a gentle, deliberate approach that cleans the entire side of each tooth.
Before we get into the step-by-step, let's break down the three core actions that form the foundation of effective flossing. Getting these right is half the battle.
The Three Pillars of Proper Flossing at a Glance
| Pillar | Action | Why It's Important |
|---|---|---|
| Generous Length | Measure out about 45cm of floss. | This ensures you have a fresh, clean section for each tooth, preventing the spread of plaque from one area to another. |
| Secure Grip | Wind the floss around your middle fingers. | This frees up your index fingers and thumbs to guide the floss precisely and gently, giving you much better control. |
| C-Shape Curve | Gently hug the side of each tooth with the floss. | This action allows the floss to slide just below the gumline and clean the entire side surface of the tooth, not just the gap. |
Nailing these three pillars transforms flossing from a chore into a powerful preventative health measure.
Setting Yourself Up for Success
With those fundamentals in mind, let's put it all together.
Get the Right Amount: Start by pulling a generous length of floss from the dispenser—about 45cm, or roughly the distance from your fingertips to your elbow, is perfect. Don't be shy here; using too little is a common mistake that just moves plaque around your mouth.
Find Your Grip: Wind most of the floss around the middle finger of one hand and just a small amount around your other middle finger. This acts as your supply-and-take-up reel. Now, you can use your thumbs and index fingers to guide a taut 2-3cm section of floss.
Master the C-Shape: This is where the magic happens. Instead of forcing the floss down between your teeth, gently guide it with a light back-and-forth motion. Once it’s in, curve the floss into a tight C-shape against one tooth and slide it up and down, making sure you dip just below the gumline. Then, pull it out, curve it against the other tooth in that same gap, and repeat.
Flossing should never be an aggressive, painful process. It's about being thorough. That C-shape is what allows you to effectively "wipe" the plaque off the entire side of the tooth, from where it touches its neighbour right down to that crucial pocket beneath the gumline.
Here in New Zealand, a significant number of Kiwis are dealing with gingivitis, the first stage of gum disease. Flossing properly is one of the most effective ways to reverse and prevent it, simply because it cleans the exact surfaces your brush misses every single time.
Understanding these foundational techniques is your first step. For a more comprehensive look at protecting your smile, check out our guide on how to prevent tooth decay. Getting these basics right truly makes all the difference.
Mastering the C-Shape Flossing Technique
Alright, let's get down to the nitty-gritty of flossing. The technique we recommend, and the one that truly makes a difference, is called the C-Shape method. It’s less about speed and more about being thorough. This is how you really get in there and disrupt the plaque where it loves to hide.
The biggest mistake I see people make is snapping the floss straight down between their teeth and onto the gums. Ouch. Not only does it hurt, but it can actually damage your gum tissue. The goal is to be gentle. Use a light, back-and-forth sawing motion to ease the floss between the teeth. Don't force it.
Once you’re in that space, the real work begins. It’s all about the curve.
This diagram breaks down the three basic actions that are the foundation for a perfect floss: getting the right amount, gripping it correctly, and then forming that all-important 'C' curve.

Think of these three simple actions—Measure, Grip, and Curve—as the building blocks that turn a humble piece of string into a powerful tool for your oral health.
Hugging Each Tooth
With the floss now sitting in the gap, it's time to make the C-shape. You're going to wrap the floss firmly around the side of one tooth, almost like you're giving it a hug. Your index fingers are perfect for applying the tension needed to keep that curve nice and tight against the tooth.
This "hug" is precisely what makes the technique so effective. It maximises the contact between the floss and the tooth's surface, cleaning everything from where it touches the neighbouring tooth all the way down.
The movement itself should be a gentle wiping action. Slide the floss up and down the side of the tooth about two to three times. Picture yourself wiping a dirty surface clean—that's exactly what you're doing to the plaque.
Cleaning Below the Gumline
Now for the most important part of the entire process: cleaning just below the gumline. You need to carefully guide the floss into the tiny pocket between your tooth and gum, an area we call the sulcus. This spot is a major collection point for plaque and bacteria, and your toothbrush simply can't reach it.
Don’t be afraid to go slightly under the gums, but always, always be gentle. You should feel a bit of pressure, but never pain. If you've just started flossing regularly, you might notice some bleeding here. This is usually just a sign that your gums are inflamed from the plaque you're now cleaning away, and it should stop within a week or two of consistent, gentle flossing.
Here's a pro tip: Every gap between your teeth has two sides that need cleaning. It's a common oversight to clean one tooth, pull the floss out, and move to the next gap. To be truly effective, you have to clean both teeth in every single gap.
This means you’ll perform the C-shape twice in each space:
- Ease the floss into the gap.
- Curve it into a 'C' against one tooth and wipe up and down.
- Readjust the floss to curve it against the other tooth in that same gap.
- Wipe that tooth's surface up and down as well.
This ensures no surface is missed. As you move from one tooth to the next, make sure you unwind a fresh section of floss from your finger. This stops you from just moving plaque from one part of your mouth to another. By the time you're finished, you'll have used most of that 45cm of floss you started with.
Adapting Your Flossing for Every Smile

When it comes to flossing, there’s no such thing as a one-size-fits-all method. Every smile is unique, and your daily routine needs to adapt to your specific dental situation, whether you’re helping a child, navigating braces, or caring for dental work.
Adjusting your technique is the key to getting a truly effective clean. Learning the right way to floss for your smile can make all the difference in preventing problems down the track.
Flossing for Tamariki and Teens
The best thing you can do for your child's long-term oral health is to get them into a good flossing routine early on. The trick is to make it feel like a normal, even fun, part of their day rather than a chore they have to endure.
As soon as two of their little teeth are touching, it’s time to start. At first, you’ll be doing all the work, which is a perfect chance to show them how gentle and easy it can be. As they get a bit older and more co-ordinated, you can guide their hands and help them learn the ropes. Most Kiwi kids are ready to floss on their own somewhere between the ages of 8 and 10.
Building these habits is so important. In one recent year, over 7,000 children in New Zealand required dental treatment under general anaesthesia. We know that establishing positive routines early on is one of the most powerful ways to prevent serious issues.
Navigating Braces and Orthodontics
Anyone who’s had braces knows they can be a real trap for food and plaque. The wires and brackets create a maze of new hiding spots, making standard flossing next to impossible. But that doesn't mean you can get away with skipping it.
This is where a few specialised tools become your best friends:
- Floss Threaders: Think of these as a needle and thread for your teeth. They’re simple plastic loops that help you guide a piece of regular floss underneath the archwire, so you can clean the gaps between your teeth as you normally would.
- Super Floss: This clever product is an all-in-one solution. It has a stiffened end for easy threading, a spongy section to clean around the brackets, and a regular floss segment for the tooth gaps.
- Interdental Brushes: These tiny, cone-shaped brushes are fantastic for scrubbing between brackets and getting under the wires where floss struggles to reach.
Mastering how to floss with braces is non-negotiable for keeping your gums healthy throughout your treatment. If you’re exploring different teeth-straightening options, our guide on how SureSmile orthodontic treatment transforms smiles is a great place to start.
Caring for Implants, Crowns, and Bridges
Dental work like crowns, bridges, and implants is a big investment in your health and confidence, and keeping them clean is the best way to protect that investment. While these materials won't decay, the gum tissue around them is still at risk from plaque buildup.
Plaque collecting at the base of a dental implant can trigger peri-implantitis, a serious condition similar to gum disease that can ultimately lead to implant failure. Daily, thorough cleaning of this area is crucial.
The C-shape flossing technique is still your go-to for single crowns, but you’ll want to pay special attention to the margin where the crown meets your natural tooth and gum. For bridges and implants, you’ll need to clean underneath the restoration. Water flossers and interdental brushes are what we almost always recommend for flushing out debris from these tricky spots.
Choosing Your Ideal Flossing Tool

Let’s be honest—the best flossing tool isn’t some magical device we dentists keep secret. It’s the one you will actually use every single day. While we often talk about traditional string floss, it’s certainly not your only choice for getting a proper clean between your teeth.
Finding the right tool comes down to your mouth, your dexterity, and even your lifestyle. The key is to find something that feels comfortable and sustainable, because consistency is what really protects your oral health in the long run.
Traditional String Floss
This is the classic for a good reason. String floss is still the gold standard because it’s incredibly effective at wrapping around the tooth surface. This is what allows you to create that vital C-shape we talked about earlier, physically wiping away sticky plaque.
You’ll see a few types on the shelf, like waxed floss that glides easily into tight spots, and unwaxed versions that some people prefer for the 'squeaky clean' feedback it gives.
Floss Picks or Flossettes
Also known as flossettes here in New Zealand, these little plastic tools are incredibly popular. With a short piece of floss held taut, they're undeniably convenient, especially when you're on the go or find wrapping string floss a bit fiddly.
The main trade-off, however, is that the straight, rigid piece of floss makes it almost impossible to form that C-shape curve around your tooth. This means they’re often less thorough at cleaning below the gumline.
While flossettes are certainly better than doing nothing at all, they can sometimes just push food and plaque around instead of properly removing it. Think of them as a great backup, but perhaps not the best tool for your main daily clean.
Interdental Brushes
These are essentially tiny bottle brushes designed specifically for cleaning the spaces between your teeth. We find interdental brushes work wonders for people who have slightly larger gaps, braces, or need to clean around dental work like bridges and implants.
They come in a range of sizes, so the trick is to find one that fits snugly in the gap without being forced. If you're unsure, just ask us at your next appointment—we can measure your spaces and recommend the perfect size. It's a common part of our dental hygiene services to provide this kind of personalised advice.
Water Flossers
A water flosser, sometimes called an oral irrigator, shoots a targeted stream of pulsating water to flush out debris and plaque. They are fantastic for getting into hard-to-reach areas, especially around braces, implants, and crowns where traditional flossing can be a real challenge.
While they are excellent at dislodging food particles, most dental professionals see them as a powerful sidekick rather than a replacement for manual flossing. The physical wiping motion of string floss or an interdental brush is still the most reliable way to remove that stubborn, sticky film of plaque. Of course, if you find regular flossing difficult, there are plenty of great alternatives to flossing that can still give you a fantastic clean.
To make the choice a bit easier, we've put together a quick comparison of the most common options.
Flossing Tools Compared
| Tool | Best For | Pros | Cons |
|---|---|---|---|
| String Floss | Most people with tight tooth contacts. | The "gold standard" for plaque removal; affordable and accessible. | Requires some dexterity; can be tricky to reach back teeth. |
| Floss Picks | On-the-go cleaning and those with limited dexterity. | Very convenient and easy to use. | Difficult to create the 'C-shape'; less effective at removing plaque. |
| Interdental Brushes | Gaps between teeth, braces, bridges, and implants. | Highly effective for larger spaces; easy to handle. | Not suitable for tight contacts; requires finding the right size. |
| Water Flossers | Braces, implants, crowns, and sensitive gums. | Excellent for flushing out debris; feels great on the gums. | Doesn't physically remove sticky plaque; more of a supplement. |
Ultimately, the goal is to clean between your teeth effectively every day. Don't be afraid to try a couple of different tools to see what you prefer—or even use a combination of them for the best results.
Troubleshooting Common Flossing Hurdles
Look, we get it. When you first start flossing, it can feel a bit clumsy. You might hit a few snags along the way, but don't let that put you off—these are almost always easy fixes. Think of it less as a problem and more as your mouth giving you some useful feedback.
One of the first things people notice is a bit of bleeding, and that can be unsettling. But seeing a little pink on the floss is often a sign that you’re finally cleaning areas that desperately need it. It means the floss is working, removing plaque from inflamed spots your toothbrush just can't get to.
A Little Bleeding Is Actually Normal (At First)
Healthy gums shouldn't bleed. So if they do, it's a clear signal you’re looking at gingivitis, which is the very earliest stage of gum disease. It’s caused by plaque sitting along the gumline for too long.
When you start flossing correctly, you’re disrupting that sticky plaque film, and the irritated gum tissue might bleed a little in protest. Keep up your gentle, daily flossing routine. As your gums heal and get stronger, the bleeding should stop, usually within a week or two.
If the bleeding is heavy or continues for more than a fortnight, it’s time to give us a call. We’ll need to check there isn’t another underlying issue.
Tackling Other Tricky Spots
Beyond a little bleeding, a few other common challenges can pop up. Here’s how to navigate them.
- Floss Shredding or Getting Stuck: If your floss keeps tearing or snagging, it usually points to one of two things: your teeth are very close together, or you have a rough edge on a tooth or an old filling. Try switching to a waxed floss or a tape-style floss, as they’re tougher and slide more easily between teeth.
- Sore or Sensitive Gums: Your gums might feel a bit tender for the first few days. That’s pretty standard. Just be sure you’re using a gentle touch and not snapping the floss down hard against your gums. Remember that soft, C-shaped wiping motion is all it takes.
- Reaching Those Back Molars: Getting to the very back teeth can feel like a game of Twister for your fingers. Try using a longer piece of floss to give yourself more slack to manoeuvre. This is also where tools like floss picks can be a real game-changer.
We also need to clear up a common myth: the idea that you can "over-floss." It's incredibly difficult to floss too much. The real danger is being too aggressive and forceful, which can traumatise the delicate gum tissue.
The goal isn't to floss more, but to floss better. A gentle but thorough technique once a day is far more effective and safer for your gums than a rushed, aggressive job done several times.
Remember, these early hurdles are just temporary bumps in the road. By learning how to floss properly and patiently working through these minor issues, you're building a habit that will pay huge dividends for your health. With a little practice, flossing will become a completely natural part of your day.
Common Flossing Questions We Hear in the Clinic
At our Wellington practice, we get a lot of questions about the finer points of flossing. It’s fantastic because it means people are getting serious about their oral hygiene. Let's clear up some of the most common queries we hear from our patients every day.
The Great Debate: Floss Before or After Brushing?
This is easily the most common question we get asked! While any flossing is better than no flossing, we always recommend flossing before you brush.
Think of it like this: flossing is the opening act. It dislodges all the stubborn plaque and food particles hiding between your teeth. When you follow up with your toothbrush, you're not just brushing your tooth surfaces—you're sweeping away all that loosened debris. This also means the fluoride in your toothpaste can get into those hard-to-reach gaps, giving you much better protection.
How Often Should I Floss?
The magic number is once a day. Plaque, that sticky, invisible film of bacteria, starts hardening into tartar (or calculus) in as little as 24-48 hours. Once it hardens, it can only be removed by a dentist or hygienist.
Daily flossing stops this process in its tracks. We find the best time for most people is right before bed. This ensures you’ve cleared away everything that’s built up during the day, leaving your mouth as clean as possible overnight.
My Gums Bleed When I Floss. Should I Be Worried?
It’s counterintuitive, but no, you shouldn't stop! A little bit of bleeding is actually your gums' way of telling you that you're cleaning an area that really needed it. It's usually a sign of mild gum inflammation, called gingivitis.
Bleeding is a sign that plaque has been irritating your gums. Think of it as a "thank you" from your gums for finally getting rid of the build-up. As you keep up a gentle, daily flossing routine, your gums will get healthier, and the bleeding should stop within a week or two.
However, if the bleeding is heavy or doesn't clear up after a fortnight, it’s a good idea to book a check-up with us. We can make sure there isn’t another issue that needs attention.
Is It Okay to Reuse a Piece of Floss?
We strongly advise against this. Reusing your floss can move bacteria from one area of your mouth to another—you're just shuffling the plaque around instead of removing it.
The goal is to clean with a fresh surface every time. That’s why we recommend using a generous 45cm piece of floss. As you move from one tooth to the next, just wind the used section onto one finger and unwind a fresh section from the other. It’s a simple trick that makes your flossing far more effective and hygienic.
If you're still feeling unsure about your technique or just want to chat about the right tools for your teeth, please ask us. The team at Newtown Dental is always here to give you the guidance you need for a healthy smile. Book your appointment online and we'll help you perfect your routine.
